Shaping Space: Smart Zoning for Open-Plan Homes Through Height and Finish

Today we explore zoning open‑plan homes with varied ceiling heights and layered finishes, turning one large room into a sequence of places that feel intuitive and welcoming. We’ll show how subtle changes in elevation, texture, color, and sheen guide movement, support daily routines, and quietly improve comfort. Expect practical tips, inspiring small victories from real homes, and easy ways to try ideas before committing. Share your layout questions, sketches, or photos so we can help you refine your next confident step.

Vertical Cues That Separate Living, Dining, and Work Without Walls

Ceiling height is a powerful organizer because our bodies instantly read vertical volume as a signal of purpose and pace. A slightly raised living zone invites lingering conversations, while a modestly lowered cooking run intensifies focus and contains noise. Expressed beams or gentle coffers add rhythm, and a sloped plane can stretch sightlines toward light. The trick is balancing drama with comfort, choosing adjustments that clarify zones, respect structure, and never fight natural circulation paths through the plan.

Texture Layers That Speak Softly Yet Clearly

Use texture to differentiate zones without shouting. In a city loft, ribbed wood over the dining table grounded conversation while a smooth, bright lounge ceiling encouraged evening reflection. Acoustic plaster above media seating tamed tinny echoes, and woven wallpaper behind a desk clarified focus. Keep palettes related in hue so contrasts feel intentional. Run your hand across samples under warm and cool lamps, because tactile perception shifts with lighting. Let recurring textures stitch the home together.

Color Temperature and Sheen As Wayfinding Tools

Warmer whites and eggshell sheens foster intimacy under higher ceilings by diffusing light and minimizing glare. Cooler neutrals and a touch more sheen in task areas sharpen edges for safer prep and reading. In a family loft, pale sage on a lowered kitchen soffit created a calm horizon line, while a creamy ceiling lifted the lounge. Always test large swatches vertically and overhead, since ceiling color flips under different lamps. Balance reflectance to avoid hotspots and dark caves.

Durability Where Life Moves Fast

High‑traffic routes need resilient finishes that still feel welcoming. Consider scrub‑rated paints, sealed limewash, or microcement with non‑gloss sealers. A hallway beneath a service bulkhead can carry a darker tone to hide scuffs while emphasizing height changes elsewhere. In homes with pets, oil‑finished oak slats on ceilings absorb sound and handle minor marks gracefully. Sample cleaning routines on mock panels before ordering. Keep repairability in mind, stocking touch‑up kits and extra tiles for future blending.

Light, Sound, and Comfort Working Together Across Changing Heights

Lighting and acoustics make or break vertical zoning. Taller zones love indirect, uplighting moments that celebrate volume, while lower planes excel with precise task layers. Soft materials tame reflections in lively kitchens and media corners. In a small studio, a continuous LED cove traced the highest edge, visually expanding the lounge. Pair rugs, curtains, and acoustic plaster where family gatherings get lively. Remember reverberation time, aiming for comfortable conversation. Test scenes at night, not just sunlit hours.

Working With Structure, Services, and Regulations From the Start

Great zoning respects bones. Beams, columns, and service runs can become graceful organizers instead of obstacles. Early coordination with engineers reveals where a lowered band can hide ducts or where a raised bay can remain clear. Check local codes for minimum clear heights, sprinkler coverage, and detector placement before sketching dramatic ideas. In older buildings, deflection and uneven joists require creative leveling. Treat each constraint as a design prompt, turning necessities into legible, helpful cues.

Beams and Bulkheads as Intentional Design

Expose a structural beam to mark a dining edge, then continue its line in a light trough to underline purpose. Where beams force lower points, cluster utility spaces so heights feel deliberate. In a warehouse conversion, aligning cabinetry tops with a beam created a strong horizon and soothing order. Confirm load paths before cutting or notching, and expect surprises in renovations. Scribe finishes cleanly to irregular structure, using shadow gaps to keep transitions crisp and forgiving.

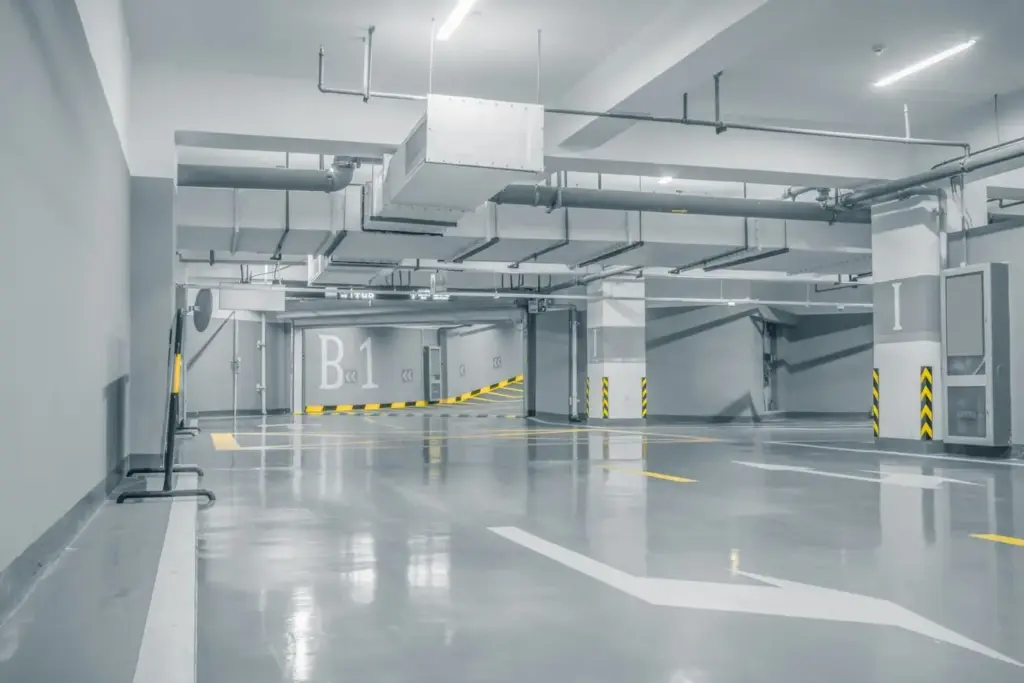
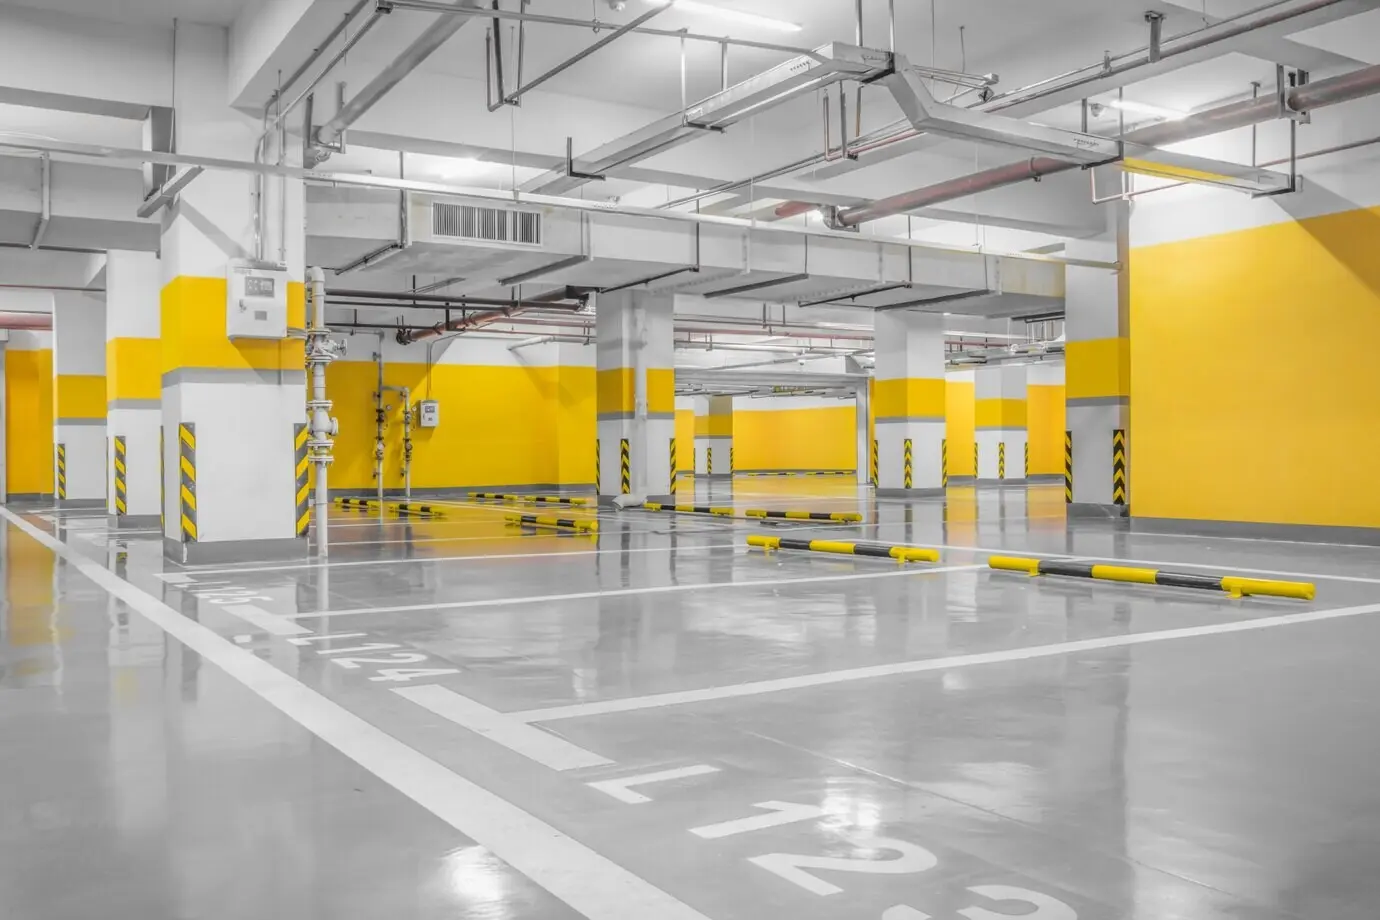
Ducts, Sprinklers, and Detectors That Don’t Fight the Plan

Mechanical runs can elegantly inform zoning by defining lower task bands. Coordinate diffuser placement so air doesn’t buffet dining seats, and group sprinkler heads in consistent grids across plane changes. Smoke and heat detectors must remain visible and unobstructed; plan ceiling features around them. In one project, a continuous ventilation slot aligned with cabinetry handles doubled as a subtle divider. Invite your contractor to mark exact device heights in tape before drywall, then adjust for symmetry.

Clearance, Accessibility, and Future Flexibility

Maintain comfortable headroom where people pause or pass, especially near doors, stairs, and beds. Keep lowered planes predictable, avoiding surprises that invite bumps. Accessibility standards guide minimum heights and reach ranges; integrate them so spaces welcome every body. Consider future furniture changes, ceiling fans, and pendant swaps. In a growing family’s home, extra junction boxes allowed easy re‑aiming of task lighting as homework moved. Document every dimension and take photos of framing before closing for confident maintenance later.

Human Scale, Psychology, and the Rituals of Everyday Life

Different heights feel like different moods. Slightly lower planes cradle morning coffee or bedtime reading, while lofty volumes energize play and gatherings. Finishes reinforce these cues, shaping how long we linger and how loudly we speak. A young family found bedtime calmer after softening a low ceiling with limewash and wool curtains. Invite daylight to touch both high and low planes. Align zones with daily rituals, and ask each household member where they concentrate and unwind best.

From Sketch to Reality: A Clear, Collaborative Workflow

Great results come from testing early and often. Start with measuring, then rough 3D massing to visualize height shifts. Use painter’s tape on ceilings and temporary lights to simulate effects for a week. Collect material samples you can touch in morning and evening light. Involve your contractor and engineer before committing. Keep a shared checklist, costs, and deadlines visible. After move‑in, tune lighting scenes and acoustics. Share your floor plan in the comments and we’ll suggest targeted adjustments.

Measure, Model, and Iterate With Purpose

Capture accurate dimensions and ceiling levels, noting odd slopes and beam depths. Build a quick digital model, then test alternative height bands across pathways and furniture layouts. In one apartment, shifting a soffit six inches unlocked a better dining alignment. Export snapshots to compare feelings, not just numbers. Walk the space with tape on the ceiling to preview edges. Keep decision logs so the team understands intent, and schedule review sessions to avoid last‑minute compromises.

Material Samples and Mockups You Can Trust

Samples lie until they are big and in place. Paint at least two large ceiling squares, one glossy candidate and one matte, then observe under day and night. Hang a temporary fabric panel to test acoustic softness. Borrow or rent a tall lamp to mimic uplight. In a studio, a weekend of mocks prevented costly fixture changes. Photograph everything with consistent exposure. Ask friends to describe what they feel in each zone, then refine your direction.

Build, Test, and Fine‑Tune After Move‑In

Even the best plans need tuning. Once installed, adjust dimmer curves, shift a pendant by inches, add a rug, or soften a hard corner with drapery. In a renovated loft, swapping a glossy clear coat for satin calmed glare instantly. Log small annoyances for two weeks, then tackle them in one tidy session with your contractor. Celebrate wins by sharing before‑after shots. Your lived experience is the final teacher, and it will guide future improvements gracefully.

Zuxomaxotepevunepeke
Privacy Overview

This website uses cookies so that we can provide you with the best user experience possible. Cookie information is stored in your browser and performs functions such as recognising you when you return to our website and helping our team to understand which sections of the website you find most interesting and useful.